
![]()
For a few years now I’ve been annoyed that at my subdivision (neighborhood) Clubhouse we have WiFi but the signal sucks. The access point (AP) is located where the Internet comes in to the building, in an electrical/HVAC room that – with all the HVAC ducting and mechanicals in there – is an extremely effective Faraday cage.
So how could I improve things in there without spending a fortune? In this post I’ll run through some of the issues I faced, as well as my final solution.
The Building
Simplifying things greatly, here’s an representative example of a similar building design and floor plan (not the actual plan, but it works for this example):
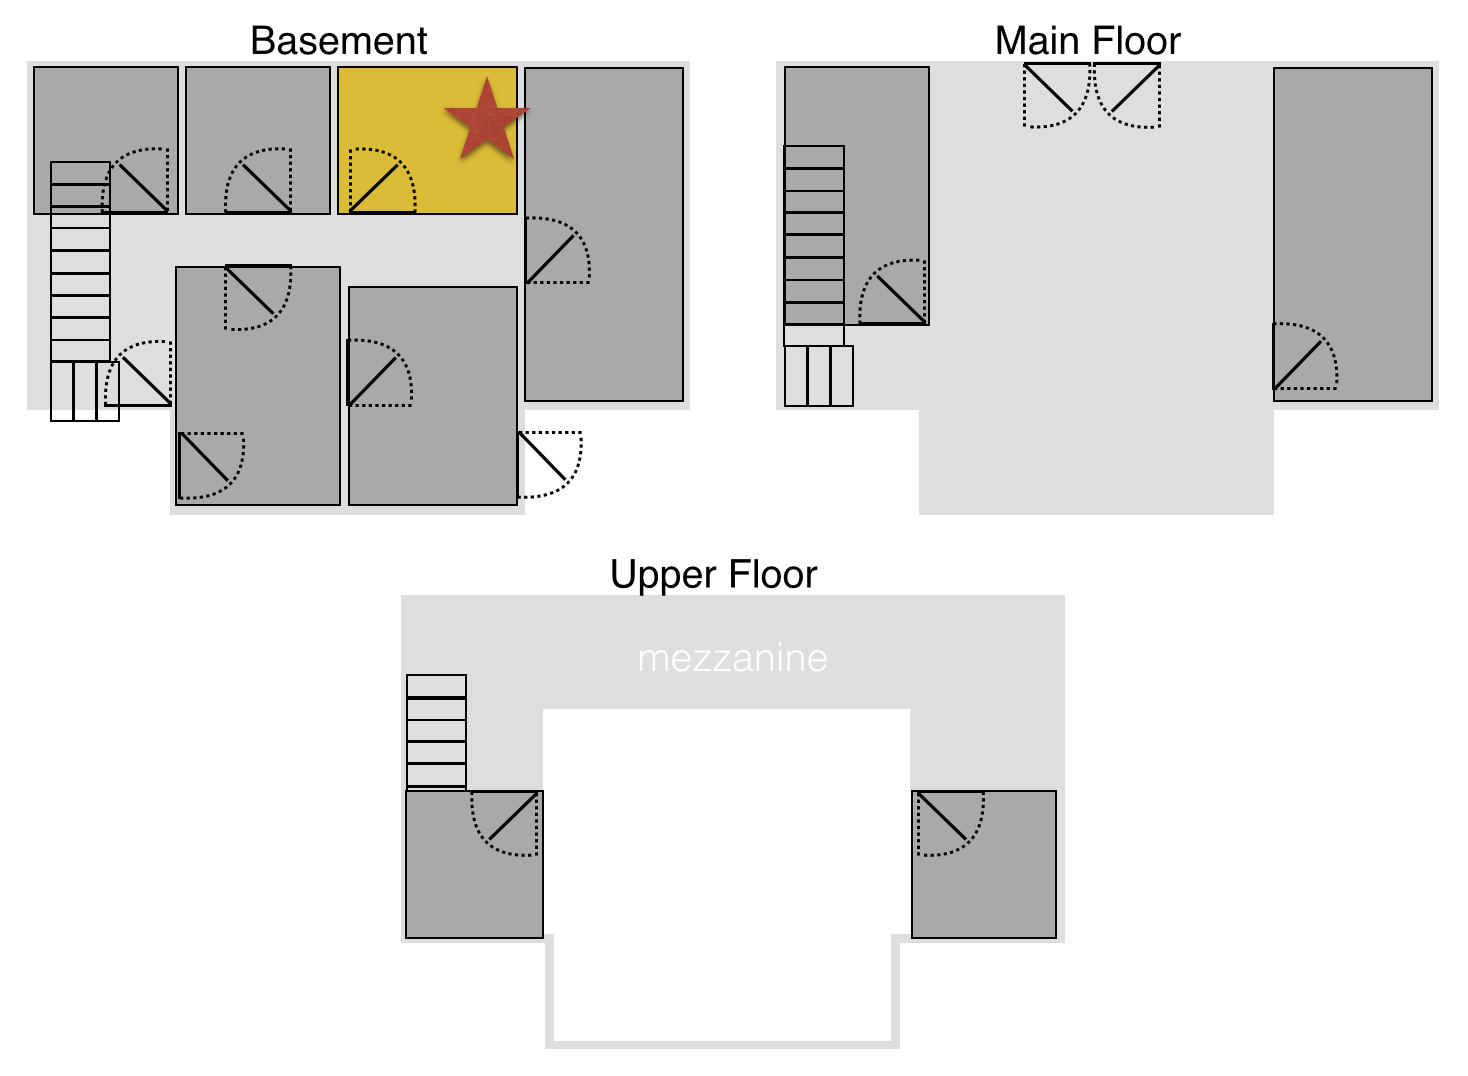 As you can hopefully see, the building has three floors – a basement, a main floor and an upper floor with a mezzanine/balcony. The basement is underground on all sides except for the South side (as viewed above), and in front of the exposed basement level is a large swimming pool around which we would also like to be able to use the WiFi.
The Electrical Room is in the basement, highlighted in yellow, with a red star representing the great location of the Wireless AP. The Electrical Room also has the main HVAC unit in it, the water heater, a bunch of plumbing and a whole whack of HVAC ducting (all nicely metallic), so the signal levels outside this room, not to put too fine a point on it, suck.
Adding Access Points
This building isn’t too dissimilar to my own house in some ways; I have a basement, 1st and 2nd floor, and my service provider hands off in the basement. Because I like to have good signal everywhere I have three APs in the house (one on each floor) all running in bridged mode and linking back to the basement over Cat5 cabling that was handily run through the walls when the builder put the phone and cable TV wiring in. This is a pretty straightforward solution; generic wireless APs are cheap, and it’s easy enough to buy a switch to hook everything together in the basement.
Problem
In my example building, however, there’s a problem: the building has no wiring in the walls apart from a couple of Cat 3 and Coax lines run when it was built. There is no Cat5 cabling at all, so I have no readily available method by which to connect any other APs back to the basement. I can run cabling, but that’s expensive because the building is very solidly built, and would most likely mean running conduit around the outside of the building.
Extending Coverage To The Pool
I mentioned that there’s a pool in front of the basement, where we’d like WiFi coverage too. The signal just can’t make it out there with any respectable strength, so we need to have the access points – or an antenna at least – nearer the pool and away from all the metal. That could be as simple as running a Cat5 (and possibly power) to the South side of the building from the Electrical Room, then mounting an AP on the South wall (possibly with an external antenna).
Problem
All good, but there’s nowhere to hide those cables. There is no suspended ceiling to make this easy, so again we’re into running conduit through other rooms in order to make this feasible. And it still doesn’t address the awful signal on the main floor.
Wireless Extenders
One quick and dirty option is to use wireless extenders – effectively wifi repeaters that boost a signal. These are pretty cheap generic items and do a nice job in many cases, and they could possible solve my problem.
Problem
I looked into this option and realized that I still had a problem getting decent wireless signal strength even as close as to the South wall of the building in the basement, and on the Main floor the signal was so weak that there was barely anything available to extend! When we needed an intranet connection on the Main floor about a year ago, I built a wireless bridge between the Electrical Room and a room on the Main Floor that were probably 2 meters apart on the horizontal plane and 1 meter vertically. I had an antenna run up to the ceiling in the Electrical room to try and work around the metal in there. Even then, the ceiling of the electrical room looks to be made of concrete, and the wireless bridge only just connected despite being so close, and was flaky at best. This was a no-go option.
Network Extenders
When I started thinking about this in earnest a month or so back, I realized that I was missing one obvious solution that I used in my own house. In one area of my basement, I don’t have Cat5 run, so when I moved in I got some HomePlug network adaptors (also branded as Powerline) to get me connectivity. The ones I have are some old Netgear XE104 and similar, and support up to a theoretical 85Mbps (which they will never achieve) but they have worked solidly since purchase and fulfilled a need for me.
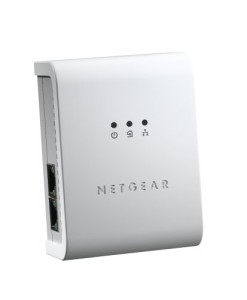
In case you don’t know the HomePlug concept, it’s a device that you plug into a power socket. The device has one or more Ethernet ports on it, and it uses the electrical wiring in your house to bridge between those Ethernet ports and one or more other HomePlug devices in your house (yes, yes, some caveats apply here).
Security
Originally, HomePlug devices were largely HomePlug’n’Play (haha, see what I did there?). You plugged two of them in, and as if by magic they automatically found each other and began bridging. There are some security issues with this, though. The first is that there’s nothing to stop somebody else (a guest, say) plugging in their own HomePlug device and connecting to your network without permission. Additionally, there is no guarantee that the data from the HomePlug devices in your house will not be visible to a HomePlug device in a neighbor’s house. It’s all just dependent on wiring and luck. To that end, HomePlug offered encryption, which was a bit of a pain to set up, but it was at least available.
Newer devices can offer something a bit more like WiFi Protected Setup (WPS) – you press a button on one unit, then push a button on the other unit, and that gives the two units permission to pair with one another. It’s not perfect, but it does mean you can in theory protect against rogue units connecting to your data. And it’s important to do this pairing because while encryption is now default on the Netgear units I’ve looked at, I gather they all use the same default encryption key in order that they can establish connectivity. You can change this key using this short procedure, which seems to me to be rather an important thing to do.
Connectivity
There is no guarantee that two HomePlug devices will be able to see each other on your power system. In larger properties where there may be more than one phase delivered, sockets on different phases are unlikely to be able to “see” each other. Surge filters can interfere with HomePlug operation, as can extension cables, breakers, and all sorts of other things. In other words, you can’t be 100% sure it will work in your environment until you try it.
Trying It Out
I had in mind that I would use HomePlug to extend the network around the building, then add APs in each location for WiFi coverage. First though I needed to know – especially as this is a commercial building – whether HomePlug would actually work in those locations. Since I was lucky enough to have some of the old HomePlug devices at home already, I grabbed couple of them and went to the building to test. Happily they synced up immediately in each location I wanted to use so I knew I’d be safe to purchase HomePlug devices for the building.
I was still unhappy though about having to mount an AP on the wall, and wasn’t entirely sure how I was going to secure them. What would be perfect would be a WiFi AP with integrated HomePlug support, so I could just deal with one device! As I researched the issue I realized that Netgear (and others) had actually solved this problem for me already in a better way than I imagined – they built a WiFi AP into a HomePlug device!
 This little puppy is a 500Mbps HomePlug bridge with 802.11N 300Mbps WiFI built in. The GUI is horrible and there aren’t many configuration options, but who cares. Suddenly my two box problem has become a one-box problem, and a tiny one at that. And they’re relatively cheap, too.
Deployment
This was a no-brainer. The WiFi HomePlug comes as a kit with one WiFi and one non-WiFi (wired, RJ–45) unit. I bought a couple of kits and put the wired unit in the Electrical Room, then put the WiFi unit in the power socket closest to the pool area. Actually, I didn’t, because I needed to configure the WiFi and secure the link between them, so I staged each WiFi unit in a power socket adjacent to the wired unit (the “base unit” effectively) and connected my laptop directly so I could get things going. Once completed, I moved the units where they needed to be.
Outcome
My biggest concern, having checked that HomePlug would work, was that the WiFi signal from these tiny little devices would be weak and slow. Maybe they are compared to bigger units, but if so I haven’t noticed Two units are providing coverage for the pool area and users in every area of the pool deck are getting 20–30MBps from the Internet using SpeedTest.net, which is more than adequate for general needs. Result!
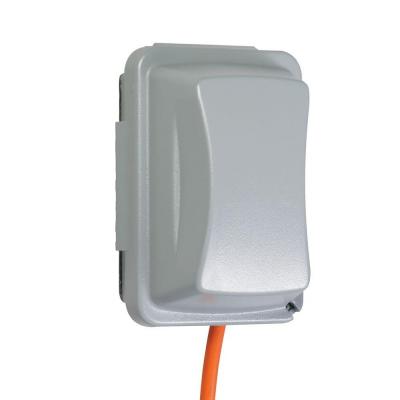
Mind you, security is still a concern, so while this is nominally a locked building, I took another step and purchased a couple of plastic socket covers and have added a small padlock to deter investigation.
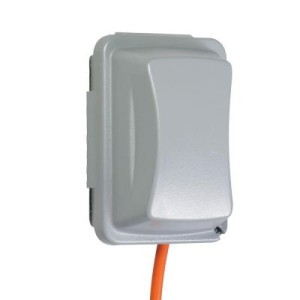
They’re opaque (so people can’t see what’s in there), and don’t seem to have impacted the radio performance at all. I also knocked out various wire inlet holes to allow better ventilation. And yes, amazingly they fit perfectly inside this little socket cover!
And Our Survey Says
It works. I’ve added another (separately secured) wired-only link from the Electrical Room to the Main Floor to replace the wireless bridge I had previously added, and I’ll be adding a new WiFi AP up there as well, but that’s not as critical. After all, it’s pool season here!
I expected to be disappointed by the HomePlug WiFi performance, but it has actually been really good. If you need anything more complex than bridging, mind you, forget about it. This is not a feature-rich system, it’s a pretty dumb wireless bridge. However, it solved a problem I’ve been noodling on in the back of my mind for a while, all for less than a few hundred dollars. Color me happy!


Yup – I love the Netgear AV500 gear – as my (rented) house only has one string of CAT5 (running in a location that is actually completely useless to me), and my telephone entry point is in the least accessible corner of the kitchen it was the only practical solution to get a decent speed of access throughout the house. I also use their WiFi AP in a central location to provide access for phones, tables, roaming laptops, etc – but anything fixed is wired in.
I have been having some issues with the WiFi AP recently when it’s just been falling for no apparent reason – Netgear support advised me to take the channel off “auto”, but I’m not convinced that’s helping, I need more time to tinker, but it’s difficult to troubleshoot as it is so intermittent.
At the end of the day though, nothing beats proper ethernet wiring…if anyone has the opportunity (new build house, large-scale electrical rewiring, etc) then I’d say to take full advantage and get your home networked!