
I’m not a big user of Apple’s Automator tool, but sometimes it’s very useful. For example, A10 Networks load balancers make it pretty easy for administrators to capture packets without having to remember the syntax and appropriate command flags for a tcpdump command in the shell. Downloading the .pcap file is pretty easy too (especially using the web interface), but what gets downloaded is not just a single file; instead, it’s a gzip file containing a tar file which in turn contains (for the hardware I use) seventeen packet capture files. In this post I’ll explain what these files are, why it’s annoying, and how I work around this in MacOS.
![]()
Sixteen Candles
If you’re wondering how one packet capture turned into sixteen PCAP files, that’s perfectly reasonable and the answer is simple in its own way. The hardware I use has sixteen CPU cores, fifteen of which are used by default to process traffic, and inbound flows are spread across those cores. Thus when taking a packet capture, the system actually requests each core to dump the flows matching the filter specification. Each core effectively has awareness of both the client and server sides of any connection, so both are included in a packet capture automatically, which is great. The sixteen files represent a PCAP from each traffic CPU core. The seventeenth file, then, is the consolidated capture created by merging the other sixteen files.
The alert among you may have noticed that I said only fifteen of the cores processed traffic, yet there are sixteen individual core pcap files in the archive. One of those files–the one for the process CPU–is always an empty (actually a 24 byte) file
Why is this annoying? Well, firstly let’s imagine I’ve configured the A10 to capture packets to a file called webprod.pcap
. Viewing the list of capture files I will see webprod.pcap, and then I can download it.
The Magical Gzip File
The downloaded file will have a name which includes the date and time (based on the load balancer’s time settings) at which the download was requested. For example:
axdebugs_2017-09-26_06-01-44.tar.gz
There is no sign of webprod
here. Helpfully, despite the potential risk, MacOS by default will expand gzip files (you can disable this behavior if desired), leaving me with a tar file in my Downloads folder:
axdebugs_2017-09-26_06-01-44.tar
From there, if I double-click the tar file, MacOS will create a folder for me, and extract the tar file content to within the folder:
axdebugs_2017-09-26_06-01-44/
Finally when I open the folder, I get to see the list of files within:
webprod.pcap_1.pcap
webprod.pcap_2.pcap
webprod.pcap_3.pcap
webprod.pcap_4.pcap
webprod.pcap_5.pcap
webprod.pcap_6.pcap
webprod.pcap_7.pcap
webprod.pcap_8.pcap
webprod.pcap_9.pcap
webprod.pcap_10.pcap
webprod.pcap_11.pcap
webprod.pcap_12.pcap
webprod.pcap_13.pcap
webprod.pcap_14.pcap
webprod.pcap_15.pcap
webprod.pcap_16.pcap
webprod.pcap_merge.pcap
The only one I really care about is webprod.pcap_merge.pcap
. It would be a rare moment where I actually needed to look at an individual CPU core’s view of events, and while I appreciate that the option is there, it really does makes what should have been a simple download into somewhat of a mess.
What’s worse is that rather than looking like this:
apache-tshooting.pcap
dev-payments.pcap
login_issue.pcap
webprod.pcap
…my Downloads folder looks like this:
axdebugs_2017-09-26_06-01-44.tar
axdebugs_2017-09-26_06-01-44/
axdebugs_2017-09-26_05-43-12.tar
axdebugs_2017-09-26_05-43-12/
axdebugs_2017-09-25_21-55-01.tar
axdebugs_2017-09-25_21-55-01/
axdebugs_2017-09-22_12-34-56.tar
axdebugs_2017-09-22_12-34-56/
Want to guess which one of these contains dev-payments.pcap_merge.pcap?
Enough With The Idiocy
It has taken a while but I decided that I had finally had enough of this and wanted a solution. And so, with a little shell scripting wrapped in Automator, I was able to achieve what I wanted. Now when I download a PCAP file from the A10, within a few seconds the Downloads folder is opened and the pcap_merge file is highlighted. More than that, tar file is in the trash, there’s no folder created, and the only file left in Downloads has a name I can relate to (webprod.pcap_merge.pcap, for example).
Automate All The Things With Automator
Apple’s built-in Automator app has the ability to create a process to monitor a folder for changes. using this capability, it’s possible to watch my Downloads folder for new axdebug files and then process them. The shell script I use is fairly straightforward, given some small quirks in the way Automator reports the results of a folder change (more on that below):
#!/bin/bash
# Grab the name of the file I'm being given
TARFILE=$1
# Check it's not empty (quirk of Automator)
if [[ $TARFILE == "" ]]; then
    exit
fi
# Get the directory the tar file resides in
DIR=`dirname $1`
# Extract the one file I care about:
/usr/bin/tar  -C $DIR -xf $1 \*_merge.pcap
# Get the name of the file I care about
FILE=`tar -tf $1 "*_merge.pcap" | tail -1`
# Dump the old tar file
mv $TARFILE ~/.Trash
# Output the full path and filename
echo $DIR/$FILE
With MacOS already converting the downloaded gzip file to a tar file, I wrote the above assuming that I would work on the tar file, but adding gzip extraction to the script would be trivial.
Automator
Create a Folder Action
Now I put the shell script into an Automator Folder Action. Open Automator, and if the dialog is not already presented, choose File > New:
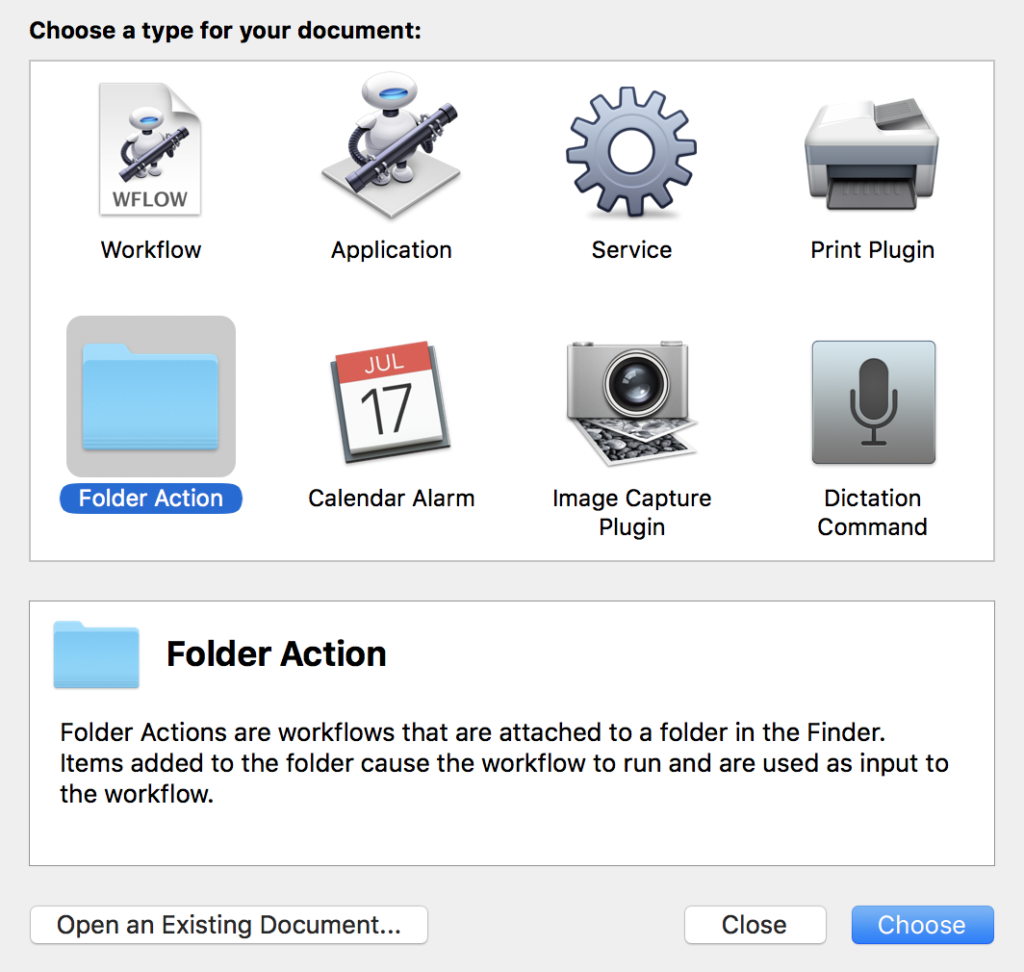
In this case, select Folder Action and click the Choose button. A new document opens in Automator, and the first thing to do is to decide which folder to monitor with this action:
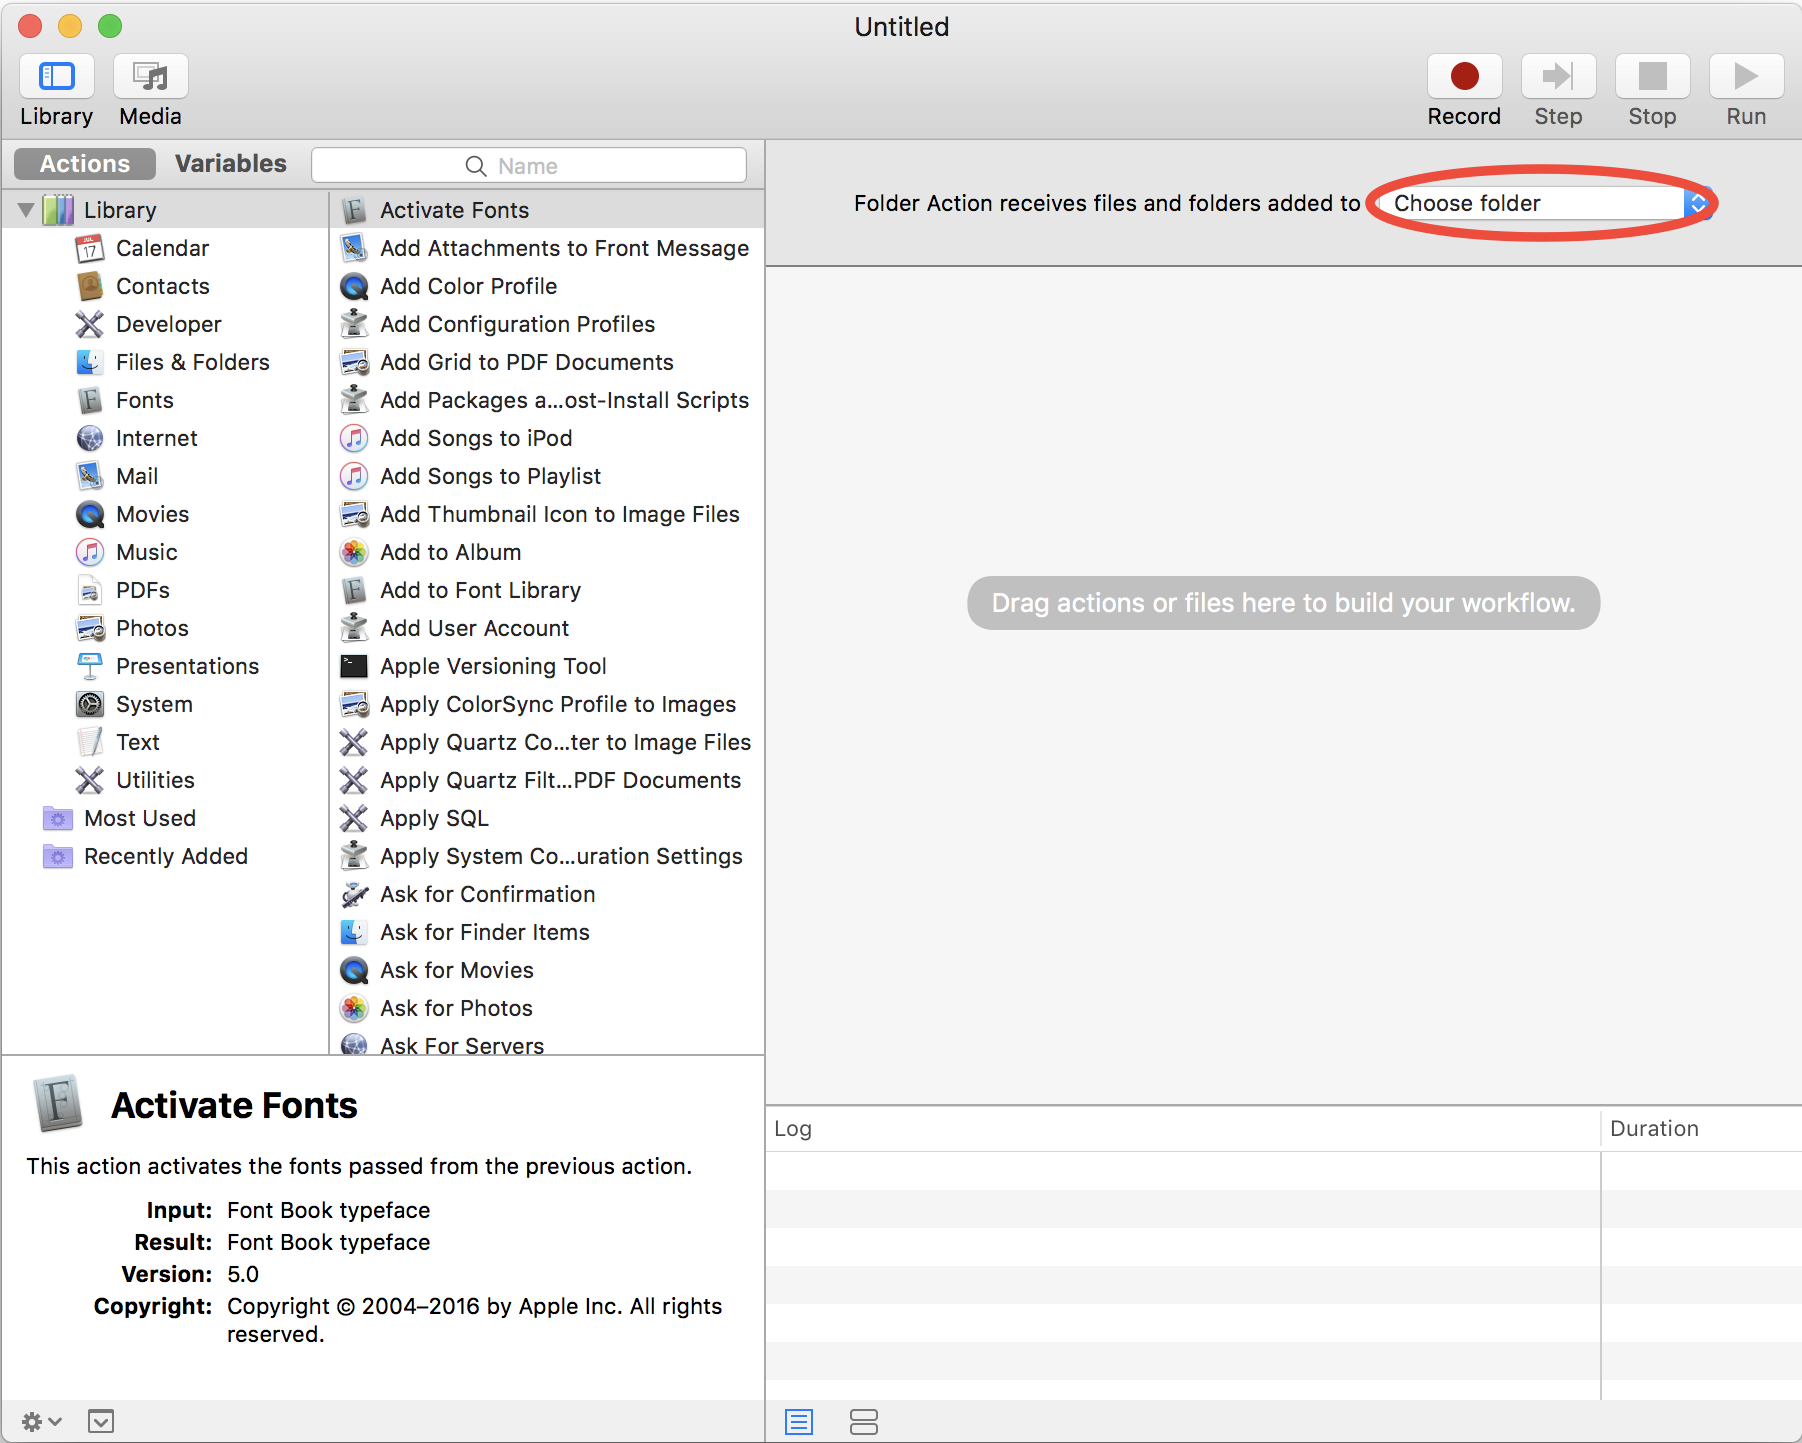
Click the dropdown, choose Other… then select your Downloads folder and click Choose. The top of the Automator window now reflects the choice:

Filter Files
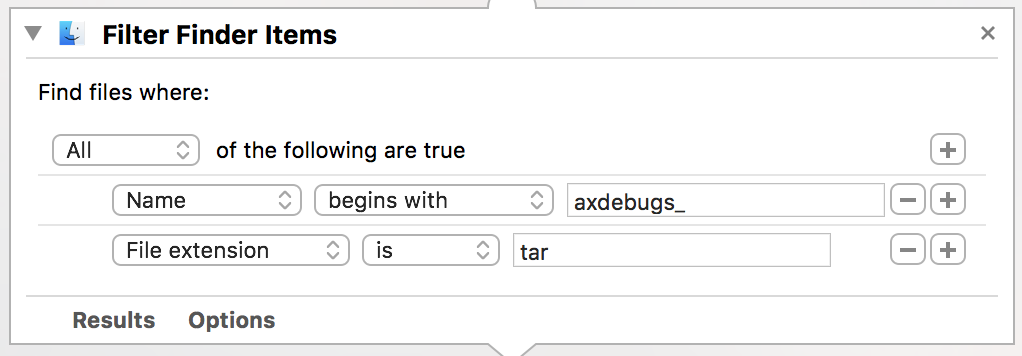
Next create a filter so that only files matching the specification will be passed to the script we’re going to add. To do this, highlight Files & Folders in the Actions column on the left, then drag Filter Finder Items over to the blank space on the right hand side.

In this case, I add a two-part filter to match filenames beginning with axdebugs_ with a file extension of .tar:
This is where we come across one of the oddities I have found with Automator: the folder action will trigger whenever something is added to the folder, whether or not it matches the filter criteria. Any matching file names will be sent to the next step of out Automator action just as if they had been entered as arguments to a program on the command line. However, if no files match the criteria, the Automator flow still proceeds but with no file names sent to the next step. This is why the shell script I shared earlier checked whether it had been sent nothing, and exited if so. It’s a bit of an odd work around, but by the shell script returning nothing, the command after the shell script is unable to execute, effectively ending the script without doing anything.
Add the Shell Script
Click Utilities in the Actions list on the left, select Run Shell Script in the column to the right and drag it over to the program pane where it will be added underneath the Filter Finder Items action:

Cut and paste the shell script into the text box in the new action. Note that you do not need to include the hashbang (#!/bin/bash) line.
Reveal the Extracted File
Opening a Finder window with a file highlighted is called Reveal
in MacOS. The shell script will output the name and path of the file it extracted, and that output is used as the input to the Reveal Finder Items action, found under Files & Folders, which will be added last:

As a side note, I could have achieved the Reveal Finder Items directly from my shell script using the open -R <path/file> command, which does the same thing, but where’s the fun in that?
Voila!
That’s it! Save the Automator Folder Action, and now each time an A10 PCAP file is downloaded, within a few seconds the script is triggered, the merged PCAP file is extracted, the tar file is put in the trash and a finder window opens with the PCAP file highlighted and ready for action.
The Benefits of Automation
I don’t download A10 PCAP files every day, but I do it reasonably often, and when I’m troubleshooting something I may end up looking at a number of files in a row. This was sufficiently simple to put together that I felt there was a reasonable return on the time spent creating the action, which was not long, as you can see from the above. My only gripe with it–a common gripe with Automator folder actions–is that the action doesn’t trigger more immediately. Still, within 5 seconds the hard work has been done for me, and my Downloads folder is less cluttered too, and I’ll call that a win!


Leave a Reply